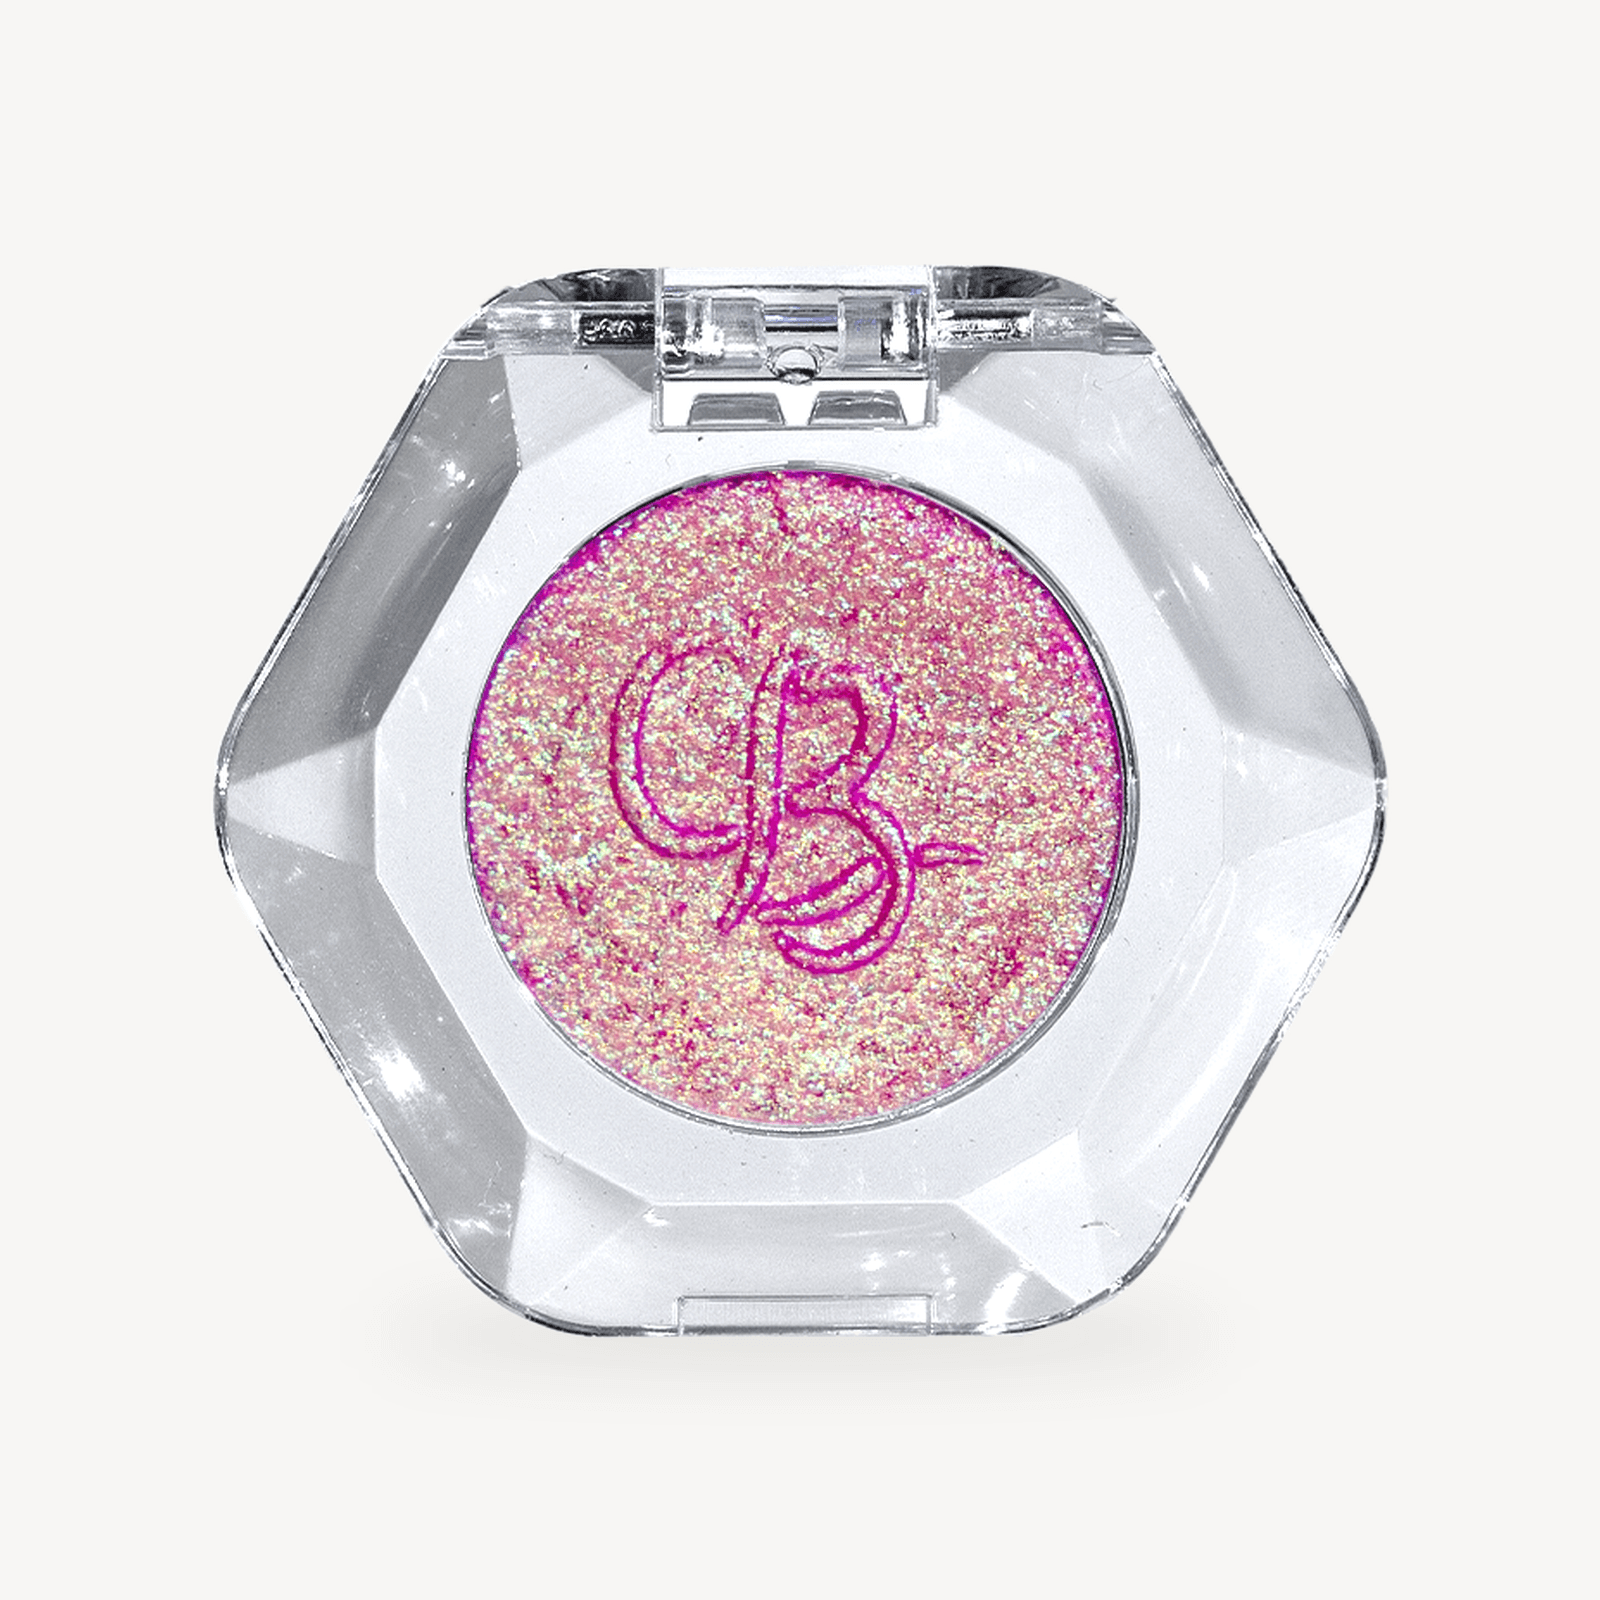

Multichrome eyeshadow can look almost effortless in a swatch. On your eyelids, though, the result depends on where you place it, how you build the color, and how much you blend.
The good news? You don't need a complicated eye look to make it work. A single shade, a clean base, and a little patience are enough to get started.
Here’s how to apply multichrome eyeshadow, from your first layer to the finishing touches.
What You Need Before You Start
You don't need a full set of brushes or several eyeshadow palettes. Start with a few basics:
-
Multichrome eyeshadow: One shade is enough for your first look.
-
A clean fingertip or flat eyeshadow brush: Both can work for pressing color onto the lid.
-
Your usual eye base or primer: Use one if it's already part of your routine.
-
A blending brush: Helpful for softening the edges if you use other eyeshadows.
Keep your setup simple. Multichrome shades have their own visual dimension, so you don't need to build an elaborate look around them.

Step 1: Prepare Your Eyelids
Start with clean, dry eyelids. If you usually apply eyeshadow primer, put it on first and follow its directions before adding color.
You don't automatically need a black base. A darker base can change how a shade looks, so begin with your usual eye base—or no additional base if that's how you normally wear eyeshadow.
For your first attempt, it's easier to understand the shade when you change only one thing at a time.
Step 2: Pick Up a Small Amount of Product
Use a clean fingertip or a flat eyeshadow brush to pick up a small amount of product.
If you're using your finger, use a gentle tapping motion rather than rubbing the shadow across the lid. With a brush, start with a light layer and add more only where you want extra color.
It's tempting to apply a lot at once, especially when a shade looks striking in the pan. Start small. You can always build the look gradually.

Step 3: Press the Color Onto Your Eyelid
Place the shadow on the area where you want the color shift to stand out—often the center of the lid or across the mobile eyelid.
Press the product onto the skin instead of immediately sweeping it back and forth. This gives you more control over placement and helps keep the reflective color concentrated where you want it.
Look at the result from a few angles as you work. Multichrome shades can appear different as the light and viewing angle change, so one glance in the mirror won't tell you the whole story.
Step 4: Build the Color in Light Layers
Want a more noticeable effect? Add another light layer to the same area.
Rather than covering the entire lid with more product, concentrate the extra layer where you want the color to be most visible. Take a step back between layers to see how the look is developing.
For a simple everyday approach, one shade across the lid may be all you need. For a more dramatic look, you can build the color gradually and extend it toward the outer corner.

Step 5: Blend the Edges, Not the Whole Lid
This is where a little restraint helps.
If you want a soft finish, use a clean blending brush around the edges. Keep the blending light and focused on the border of the color.
You don't need to keep sweeping over the center of the lid. Too much blending can move the product away from the area where you want its reflective effect to show.
If you are pairing the shade with a matte transition color, blend that matte shade first, then press the multichrome onto the lid as your focal point.
Step 6: Keep the Rest of the Eye Look Simple
A multichrome shade can do most of the visual work on its own. For a first look, try pairing it with a neutral matte shade in the crease and a soft line of eyeliner.
Prefer something more expressive? Use a contrasting shade in a small area, such as the inner corner or outer lid, rather than layering several colors everywhere at once.
The goal isn't to use as many shades as possible. It's to give the color room to show up.

Common Multichrome Eyeshadow Mistakes to Avoid
Applying too much product at once
Start with a light layer and build gradually. It's easier to add color than to correct an overly heavy application.
Blending before placing the color
Press the shade onto the lid first. Once you're happy with the placement, soften the edges if needed.
Expecting the shade to look identical in every light
Lighting, viewing angle, skin tone, and the eye base can all affect how a shade appears. Check your look near a window and under your usual indoor lighting before deciding whether you want another layer.
Using too many shades on your first try
Begin with one multichrome shade. Once you're comfortable with the placement and finish, experiment with additional colors.
Final Tip: Start Simple, Then Experiment
The easiest way to learn how to apply multichrome eyeshadow is to work in small layers and pay attention to placement. Press on the color, soften the edges, and check the result from different angles.
Once you get comfortable with one shade, try a different placement or pair it with a matte color. A small change can give you a completely different look.
Ready to try your first shade? Explore Ourbella's multichrome eyeshadows and find your next eye look.